
LXC, as you can read in https://en.wikipedia.org/wiki/LXC, is an operating-system-level virtualization method for running multiple isolated Linux systems (containers) on a control host using a single Linux kernel.
Basically this means that you can have multiple containers behaving as if they were Virtual Machines. This is a different approach to Dockers, which are meant to run a single application inside. For instance, if we wanted to run a WordPress using Docker, we should run a docker for the database and another one for the HTTP server and both Docker should communicate using some networking capabilities. However, if we run the same instance using LXC, we could install the Database and the HTTP server using the same container (a kind of lightweight Virtual Machine). So, I think this is basically the biggest difference: A Docker is thought to run an application and LXC is thought to behave in a close way to a virtual machine.
Installation and first Steps
In order to install LXC we could simply run:
apt install lxc lxc-templates lxc-utilsNow, we can start working with LXC. Of course, the first thing we’d like to do is creating our first LXC Virtual Machine, in order to do this, we could type the following command:
lxc-create -t ubuntu -n u1 -- -r focalAnd after a while, we’ll have our container. It won’t be runing, but it will be created. The name of my container, in this case, is n1 In order to run the container we should type:
lxc-start -d -n u1Once we are running our container, we can see it using the command “lxc-ls –fancy“:
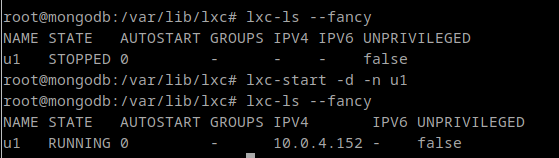
As you can see, when the container is STOPPED, it has no IP. After the container is started, it is assigned an IP address and will use that IP address for the life of the container (until it is destroyed). By default, a bridge is created in LXC host named lxcbr0 which will act as “gateway” for the containers.
NOTE: The default network is 10.0.3.0/24 instead of 10.0.4.0/24 in the example. It doesn’t matter much at this point.

Two other interesting commands to work with containers are: lxc-stop to stop a container and lxc-destroy to definitely remove the container (forever):
# Stop a running container
lxc-stop -n u1

# Remove a stopped container
lxc-destroy -n u1
Configuration of Containers
Once the container is created, a new directory is created in /var/lib/lxc with the name of our container. In our example, the directory will be /var/lib/lxc/u1.
There is a config file in that directory named config. We can change the configuration of the container here. There are plenty of different configurations which can be done here.
The default configuration is enough to run most applications. However, there are some things that might require to change this configuration. For example: Running nested LXC Containers or Dockers, running Virtual Machines using KVM…
If we wanted to run these kind of applications, we must add the following lines to the end of the config file:
lxc.apparmor.profile = unconfined
lxc.cgroup.devices.allow = a
lxc.cap.drop =
In my example, I’m running LXC in LXC. So this is the reason the IPs of my examples are 10.0.4.0/24 instead of 10.0.3.0/24.
Running Docker inside LXC
I run a new container (this time it won’t be nested):
lxc-create -n docker-in-lxc -t ubuntuAnd I add the lines shown above to the end of its config file: /var/lib/lxc/docker-in-lxc/config and I start the container with lxc-start.
I log in the container and I run the command
sudo apt install docker docker.io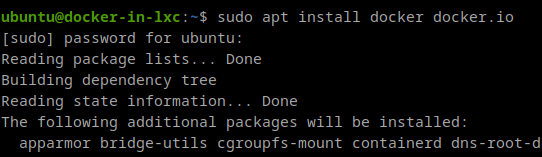
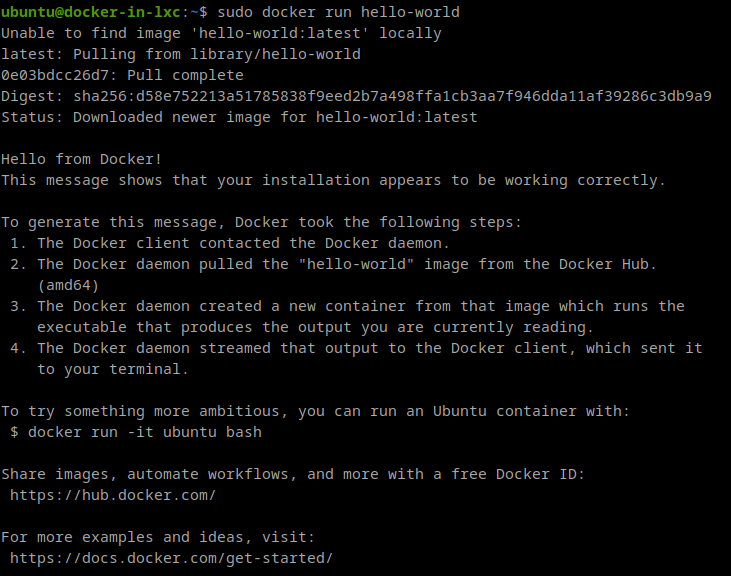
Once everything is installed, we can test if it works:
KVM In LXC
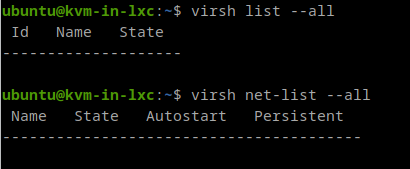
Again, we create another lxc container changing its config file as explained above and we can ssh to that container.
sudo apt install libvirt-clients libvirt-daemon libvirt-daemon-system libvirt-daemon-system qemu-kvm qemu-utils qemu-system-x86Once it gets installed, our libvirt will be there.
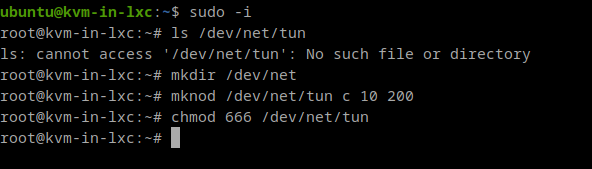
Before we can do anything with this, we’ll need to create a device driver which is not present by default in our LXC. The /dev/net/tun which is a must in order to run our Virtual machines with networking:
We also need to be aware that Kernel Modules are not loaded inside the LXC containers. Modules are loaded in the Kernel and the Kernel is shared for every LXC container. So, if we want virtualization to work, we’ll need the KVM Module loaded in the real Linux Kernel: We need kvm installed in our real operating system.
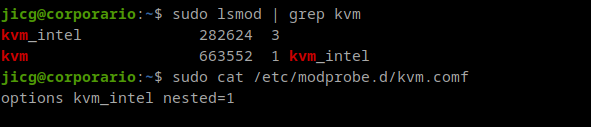
It is not mandatory to have nested virtualization configured in our module. But anyway, I have it.
In order to test my “brand-new” kmv-in-lxc, I’ve downloaded a small linux image (Cirros): http://download.cirros-cloud.net/0.5.1/cirros-0.5.1-x86_64-disk.img
Once the image is downloaded, I will start a new VM using that image. However, it is a cloud based image which will try to connect to 169.254.169.254 in order to get cloud metadata information. As I don’t have any cloud provider such as openstack, booting a Virtual Machine from this image will take a long, long time. In order to make all this to fail faster, I’m going to add the ip 169.254.169.254 to device eth0 inside the container:
sudo ip addr add 169.254.169.254/32 dev eth0
And now, I boot a VM from my image:
sudo kvm -no-reboot -nographic -m 2048 -hda cirros-0.5.1-x86_64-disk.img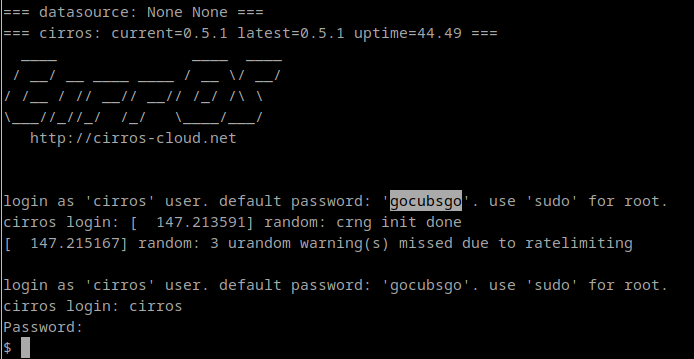
This VM can be destroyed with “sudo poweroff“.